Well, nearly a year since my last post. Shameful! I have been extremely busy with various projects, but the one I'm highlighting today has been the biggest to date. After 6 years of simply "existing" in one of our spare rooms functioning as my craft room, I made the move to turn it into the room of my dreams. From the beginning, I decided this was a project I wanted to do without the help of my (very handy) husband. I set out on my own for the challenge, for the hopes of a rewarding sense of accomplishment at the end, and well, frankly, because he's not as invested in my "crap room" as he calls it. I have to admit that now with the room makeover finished, and looking back on before photos, he pretty much hit the nail on the head. I suppose there was a reason we always kept that door closed when company came over! The starting point for the project was 1.) learning that my husband's employer was going to be throwing away some fantastic pieces of Formica desk tops (the kind used in office cubicles), and 2.) the desire to create custom storage to hide all of my functional yet cluttered-looking craft bins. Hopefully I don't bore you with all the details, I'm just going to post some striking before and afters, with a few fun links to several of the places I got some of my inspiration.

Northeast corner of the room "before." Yes, it had become a dumping ground.
Northeast corner "during"
North wall "during"
Northeast corner "after"
Northwest corner "after"
magnetic bulletin board "before"
Magnetic bulletin board "after" covered in
this fabric from Joann Fabric.
Northwest corner and closet "before."
Because the main part of this spare room was quite filled up with a bed and other furniture, this closet used to be my work space. A closet board laid across two small base cabinets sufficed as my desk.
Closet conversion into a reading nook. I built this shelf from the inspiration at
this amazing blog, which I rabbit-trailed to from Pinterest.
Reading nook "during." Dutch Boy "Soft Terrain" on the closet walls (mixed in Behr paint, because I'm a fan) and Behr "Creamy White" on the trim. Creamy White is my ALL TIME FAVORITE white for trim and furniture.
Reading nook "after."
This shows the construction of the floating shelves I used in my reading nook. I got the instructions on
this blog. They stained theirs. I covered mine with fabric I got on clearance. Yay for clearance!
Floating shelves "after."
Northwest corner inside reading nook.
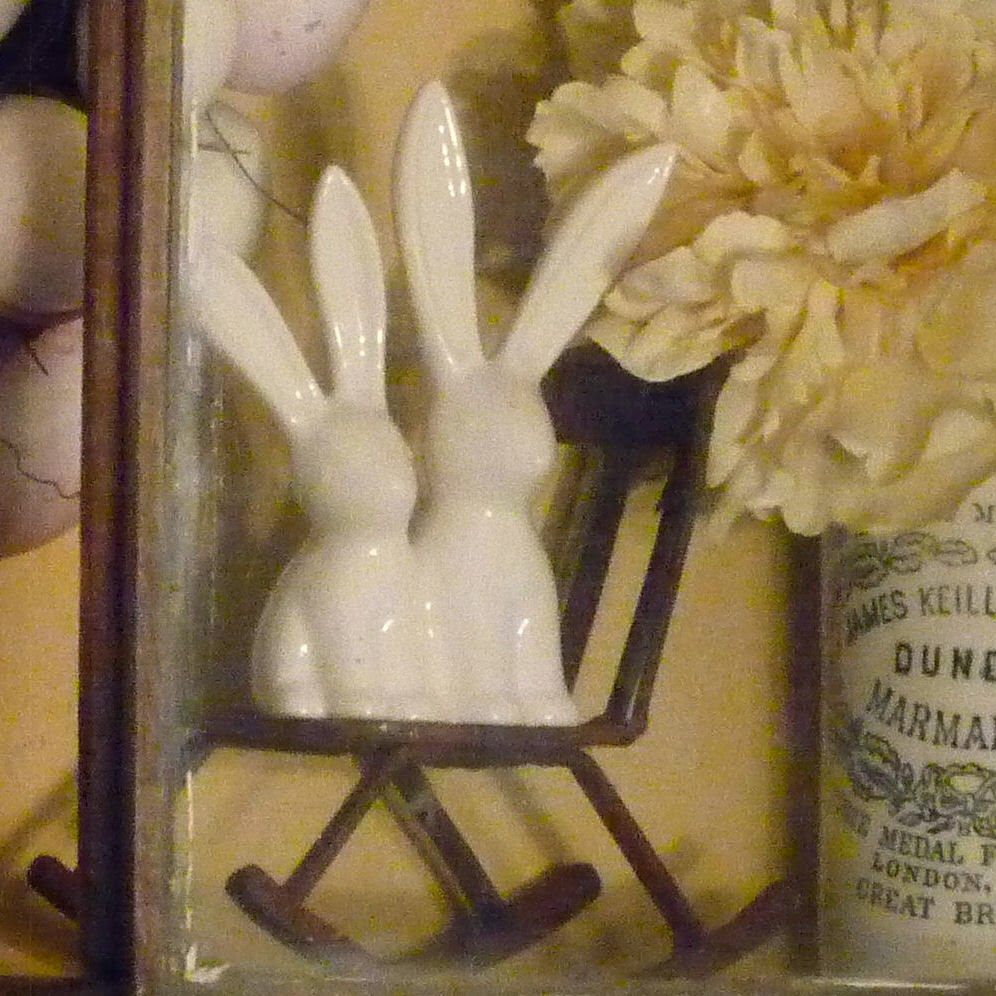
Rocker "before."
I've had this antique platform rocker chair for years. Not long after getting married, I decided I didn't have room or a good place for it in our house, so out to the fire pit it went. It was winter and we weren't doing any burning, so it sat out there for months, in the elements, waiting for the next fire to be kindling. By the time spring came though, I had changed my mind and went out and salvaged it. So glad I did!
Rocker "after."
Addendum: I later added a small footstool with leftovers of the fabric and the end pieces I cut off the table legs, which were
newel posts from Menard's. You can see the DIY for this project
here.
Couple of little framed pieces of art inside reading nook.
Southwest corner/entrance "before."
Southwest corner "after." The door propped up here is for another project elsewhere in our house. I've had it for a couple of years. One of these days I'll get to it, but for the time being I think it looks kind of cool here.
Entrance-facing wall. I've had this wrought iron wall hanging in there for years, but it was always lost in the clutter. Now it's the first thing you see.
South wall "before." I have long desired to find a way to hide these craft bins. I love them, don't get me wrong. They are a great size and hold a ton, but they look quite cluttered. This is one of the first thoughts that started spinning this whole project into being.
South wall "during." I told my husband that the ONLY thing I wanted from him for our September anniversary was for him to wire in a new power supply and switch for a light on this wall. LOVE having a handy husband!
South wall "after." I designed the two white armoire's specifically to hold four craft bins each.
I love that my supplies are now at eye level too.
Sewing machine and extra storage cabinet. I designed the drawer to be the right size to hold Cricut mats so they are easy to get at and lay flat. I used blue painter's tape and
Armor Etch cream from Joann Fabric to make an etched diamond pattern on the glass doors.
Paper from Paper Source in Minneapolis in "
Curry Dots" and
Mod Podge in matte finish line the inside of the cabinet and pull in the yellow color from the reading nook.
Desk accessories. Found this cute little swiveling pencil holder over Christmas.
Another antique I've had for years that got lost in the shuffle.
I purchased this inexpensive
barn-style light from Lowe's for over the middle cabinet/work space. I had every intention of leaving it like this, but once I saw how the galvanized steel was too cool of a silver against the warmer grey of the walls, I changed my mind.
What I came up with was this enamelware-esque look using Rust-Oleum 2X Coverage spray paint in Heirloom White (on the inside) and Warm Yellow on the outside. I dipped the rim in a pool of gloss black enamel to give it the classic enamelware look.
I had to use a grinder to remove the paint and the galvanized layer in random patches where I wanted to rust it to give it an aged look. Then I applied a solution to rust the bare metal areas. I got the recipe for the rusting solution
here and I'm pretty pleased with how it turned out. For future reference, galvanized objects are meant to NOT rust, and while there are ways around it, it makes for more (messy) work.
This clock was purchased at
Home Goods and the rusty yellow finish inspired the look for the wall light (above).
I constructed this pegboard cabinet from 1"x 6" and bead board doors. The hardware was something I had found a few years ago an antique store and was just waiting for the right project.
A good pegboard is a must in my craft room, but I never liked how cluttered it look when fully exposed. The narrow cabinet with doors is the perfect solution! I did the same chipped paint technique on this cabinet that I showed in the "Faux Antique Wall Cupboard" tutorial
here. Again I used Rust-Oleum Warm Yellow spray paint for the bottom coat and the Behr Creamy White for the top coat.
Northeast corner accessories.
I downloaded this chalkboard-style free printable from
this website. Framed in a white frame from IKEA which, for the record, is the perfect white to go with the Behr Creamy White trim!
Wood window valance covered in batting and
fabric from Joann Fabric. Gotta love those 50% off coupons!
I "re-inherited" this chair from my mom this summer and I knew it could make the perfect craft room chair. I had bought it at a garage sale years ago and refinished the wood and recovered the seat. Once I no longer wanted it, my mom took it and used it in her house for years. When my parents moved this summer, this chair was on the chopping block, so to speak. I took it back and now the life cycle is complete!
The back support had been missing when I bought this chair and it had a few wobbly joints. A little wood glue and some time in the clamps and it's like new.
A coat of black spray paint and a new seat cover and you can hardly tell it's the same chair, and it cost next to nothing.
Here's a close up of the seat cover. I used Sharpie markers and rubbing alcohol to make the floral design look tie-dyed, an idea I modified from one I saw on
Pinterest.
The finishing touch was changing out the old track light fixtures. Not only are they unattractive, the spotlight style was really not great lighting as it would highly illuminate two areas in the room and leave other areas in the dark.
I had no desire to remove the old track because it would create too much of a repair issue on the ceiling. I was thrilled when I found out you can convert simple and inexpensive
pedant lights to a track light head with an
adapter like this one. I found mine at Menard's. Add an
Edison bulb and
mini drum shade and you're set...and no longer outdated.
Well, that's the whole works. Thanks for looking! Hopefully now that I have an inspiring place to work, I'll be cranking out more DIY projects for future postings.